Welcome, aspiring React developers, to the definitive guide on integrating Redux into your applications! If you’ve ever found yourself wrestling with prop drilling, component state management nightmares, or simply seeking a more predictable state container for your growing React projects, you’ve landed in the right place. Redux, at its core, provides a robust, centralized store for your application’s state, enabling easier debugging, better predictability, and a more scalable architecture.
Why Redux? The Problem It Solves
React is phenomenal for building declarative UIs, but as your application grows, managing state across many components can become a tangled mess. Imagine a scenario where data needs to be passed down through multiple levels of nested components (prop drilling) or shared between distant components without a clear pathway. This leads to:
- Complexity: Hard to track where state lives and how it changes.
- Debugging Nightmares: Unpredictable state changes make bugs elusive.
- Maintainability Issues: Modifying state logic can have unforeseen side effects.
Redux steps in to offer a solution. It enforces a strict unidirectional data flow and provides a single source of truth for your application’s state. This makes state changes explicit, predictable, and traceable.
The Core Principles of Redux
Before diving into code, let’s understand the three fundamental principles that Redux is built upon:
- Single Source of Truth: The entire state of your application is stored in a single JavaScript object tree within a single store.
- State is Read-Only: The only way to change the state is to emit an action, an object describing what happened. You never directly modify the state.
- Changes are Made with Pure Functions: To specify how the state tree is transformed by actions, you write pure reducers.
These principles lead to a highly predictable state management pattern. Let’s visualize this flow:
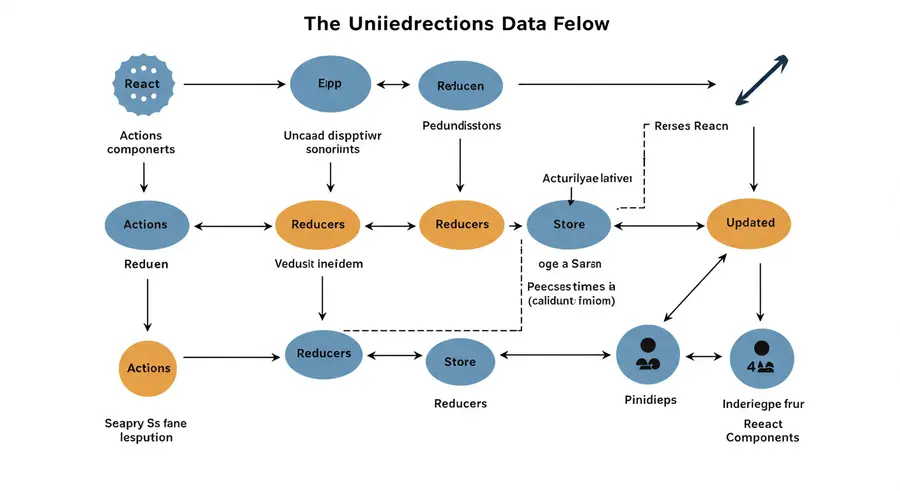
Figure 1: The Unidirectional Data Flow in Redux. Actions trigger Reducers, which update the Store, subsequently updating React Components.
Diving into the Core Concepts: Store, Actions, and Reducers
The Store
The Redux store is the heart of your application. It holds the entire state tree. There should only be one store in a Redux application.
import { createStore } from 'redux';
// We'll define reducers shortly
const store = createStore(rootReducer);
Actions
Actions are plain JavaScript objects that describe what happened. They are the only way to send data from your application to the Redux store. Actions must have a `type` property that indicates the type of action being performed.
const ADD_TODO = 'ADD_TODO';
const TOGGLE_TODO = 'TOGGLE_TODO';

function addTodo(text) {
  return {
    type: ADD_TODO,
    payload: {
      id: Date.now(), // Simple ID generation for example
      text
    }
  };
}

function toggleTodo(id) {
  return {
    type: TOGGLE_TODO,
    payload: {
      id
    }
  };
}
Reducers
Reducers are pure functions that take the current state and an action as arguments, and return a *new* state. They must not mutate the original state directly. Instead, they should return a new state object if changes occur.
const initialState = {
  todos: []
};

function todoReducer(state = initialState, action) {
  switch (action.type) {
    case ADD_TODO:
      return {
        ...state,
        todos: [...state.todos, { id: action.payload.id, text: action.payload.text, completed: false }]
      };
    case TOGGLE_TODO:
      return {
        ...state,
        todos: state.todos.map(todo =>
          todo.id === action.payload.id ? { ...todo, completed: !todo.completed } : todo
        )
      };
    default:
      return state;
  }
}
For more complex applications, you’ll often combine multiple reducers using Redux’s combineReducers utility.
Connecting Redux to React with react-redux
While Redux is a standalone library, react-redux provides the official bindings to use Redux with React. It offers two main hooks for functional components:
useSelector: A hook to extract data from the Redux store state.useDispatch: A hook to dispatch actions to the Redux store.
First, you need to wrap your entire application (or the part that needs access to the store) with the <Provider> component, passing your Redux store to it.
// index.js or App.js
import React from 'react';
import ReactDOM from 'react-dom';
import { Provider } from 'react-redux';
import { createStore } from 'redux';
import todoReducer from './reducers/todoReducer'; // Assume you put your reducer here
import App from './App';

const store = createStore(todoReducer);

ReactDOM.render(
  <Provider store={store}>
    <App />
  </Provider>,
  document.getElementById('root')
);
Figure 2: An illustration of React components interacting with a Redux store, showcasing state updates and data rendering.
Zero to Hero Example: A Simple Counter
Let’s build a basic counter application to solidify these concepts.
1. Create Actions (src/actions/index.js)
// src/actions/index.js
export const increment = () => ({
  type: 'INCREMENT'
});

export const decrement = () => ({
  type: 'DECREMENT'
});
2. Create Reducer (src/reducers/counterReducer.js)
// src/reducers/counterReducer.js
const initialState = {
  count: 0
};

const counterReducer = (state = initialState, action) => {
  switch (action.type) {
    case 'INCREMENT':
      return { ...state, count: state.count + 1 };
    case 'DECREMENT':
      return { ...state, count: state.count - 1 };
    default:
      return state;
  }
};

export default counterReducer;
3. Set up the Store (src/index.js)
// src/index.js
import React from 'react';
import ReactDOM from 'react-dom';
import { createStore } from 'redux';
import { Provider } from 'react-redux';
import counterReducer from './reducers/counterReducer';
import Counter from './Counter';

const store = createStore(counterReducer);

ReactDOM.render(
  <Provider store={store}>
    <Counter />
  </Provider>,
  document.getElementById('root')
);
4. Create the React Component (src/Counter.js)
// src/Counter.js
import React from 'react';
import { useSelector, useDispatch } from 'react-redux';
import { increment, decrement } from './actions';

function Counter() {
  const count = useSelector(state => state.count);
  const dispatch = useDispatch();

  return (
    <div>
      <h1>Counter: {count}</h1>
      <button onClick={() => dispatch(increment())}>Increment</button>
      <button onClick={() => dispatch(decrement())}>Decrement</button>
    </div>
  );
}

export default Counter;
Handling Asynchronous Operations (e.g., API Calls)
Reducers must be pure functions, meaning they cannot have side effects like making API calls. For asynchronous logic, Redux uses middleware. A popular choice is Redux Thunk, which allows you to write action creators that return a function instead of an action object.
// Example using Redux Thunk
// Install: npm install redux-thunk

// Configure store with middleware
import { createStore, applyMiddleware } from 'redux';
import thunk from 'redux-thunk';
import rootReducer from './reducers'; // Your combined reducers

const store = createStore(rootReducer, applyMiddleware(thunk));

// An async action creator
const FETCH_USERS_REQUEST = 'FETCH_USERS_REQUEST';
const FETCH_USERS_SUCCESS = 'FETCH_USERS_SUCCESS';
const FETCH_USERS_FAILURE = 'FETCH_USERS_FAILURE';

export const fetchUsers = () => async dispatch => {
  dispatch({ type: FETCH_USERS_REQUEST });
  try {
    const response = await fetch('https://jsonplaceholder.typicode.com/users');
    const data = await response.json();
    dispatch({ type: FETCH_USERS_SUCCESS, payload: data });
  } catch (error) {
    dispatch({ type: FETCH_USERS_FAILURE, payload: error.message });
  }
};
Redux Toolkit: Simplifying Redux Development
While understanding core Redux is crucial, modern Redux development heavily relies on Redux Toolkit (RTK). RTK simplifies common Redux tasks, reduces boilerplate, and includes best practices by default. It’s the recommended way to write Redux logic today.
Key features of RTK include:
configureStore: Simplifies store setup, including dev tools and middleware.createSlice: Generates action creators and reducers from a single object.createAsyncThunk: Simplifies async action creators for common data fetching patterns.
Conclusion and Next Steps
You’ve taken a significant step from being a “zero” to a “hero” in understanding Redux with React! By adopting Redux, you bring predictability, maintainability, and scalability to your application’s state management. While the initial setup might seem a bit verbose, the benefits quickly outweigh the overhead, especially in medium to large-scale applications.
Your journey doesn’t stop here. I encourage you to:
- Explore Redux Toolkit in depth, as it’s the modern standard for Redux.
- Learn about Redux DevTools Extension for powerful debugging.
- Consider other middleware like Redux Saga for more complex side effect management.
- Build more complex applications to solidify your understanding.
Happy coding, and may your state always be predictable!